
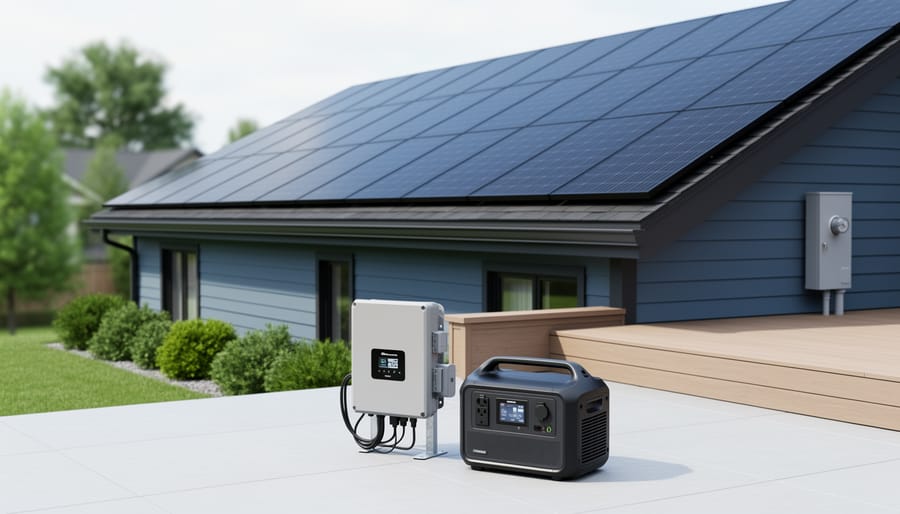
You can generate electricity at home through eight proven methods ranging from rooftop solar panels to micro-hydro systems, with most installations paying for themselves within 8 to 15 years while slashing your carbon footprint and monthly utility bills. For Canadian homeowners in 2026, the combination of improved technology, provincial rebates, and rising grid electricity costs has made residential power generation more practical than ever.
The shift toward home energy production isn’t just about saving money. It’s about resilience. When winter storms knock out power lines or summer heatwaves strain the grid, homes with their own generation capacity keep the lights on. The same innovations driving large-scale projects like offshore solar farms have trickled down to residential systems, making them more efficient and affordable.
The methods covered here span different budgets, property types, and skill levels. Apartment dwellers can start small with portable solar generators or balcony-mounted panels. Rural homeowners with streams might tap into micro-hydro power. Those with windy properties can install backyard turbines. Each approach delivers real kilowatt-hours while reducing reliance on fossil-fuel-heavy provincial grids.
What works best depends on your situation. A Toronto condo owner faces different opportunities than someone with acreage in rural Alberta. Climate matters too. British Columbia’s rainy winters favour different solutions than Saskatchewan’s sun-drenched prairies. This guide breaks down each method with the tools you’ll need, safety considerations, step-by-step processes, and ways to verify your system works properly. Whether you’re aiming for complete energy independence or just want to offset peak-hour consumption, at least one of these eight approaches will fit your home.
What You’ll Need: Tools, Materials, and Planning Requirements
The tools and materials you need depend entirely on which generation method you choose and your skill level. A simple balcony panel installation might require nothing more than a screwdriver and zip ties, while a full rooftop system demands specialized electrical equipment and safety gear.
Start with planning requirements that apply to nearly every method. Calculate your home’s energy needs by reviewing six months of utility bills to identify average daily consumption in kilowatt-hours. This determines system sizing and whether you’re aiming for partial offset or complete energy independence. Contact your local utility company about interconnection requirements and net metering eligibility before purchasing equipment. Most Canadian provinces require electrical permits for systems over 1 kW, and some municipalities mandate structural engineering assessments for rooftop installations. Budget two to four weeks for permit approvals in urban areas.
- Beginner tools: Multimeter for voltage testing, basic screwdriver set, wire strippers, utility knife, measuring tape, and safety glasses
- Intermediate additions: Cordless drill with masonry and wood bits, torque wrench, conduit bender, fish tape for wire routing, and fall protection harness for roof work
- Advanced requirements: Crimping tool for MC4 connectors, thermal imaging camera for fault detection, insulation resistance tester, and ladder stabilizers or scaffolding
Core materials vary by method but typically include photovoltaic panels rated for Canadian winters, an inverter matched to your system voltage, charge controllers for battery-based systems, appropriately gauged copper wiring, junction boxes, and grounding equipment. Battery storage adds lithium or lead-acid banks with associated management systems. Mounting hardware depends on your installation surface, roof penetrations require flashing and sealant, while ground mounts need concrete footings or helical piles.
The seven intermediate and advanced methods in this guide assume you’re comfortable working with basic electrical concepts and can safely use a multimeter. If terms like voltage drop, ampacity, or series versus parallel wiring feel unfamiliar, start with Method 4 or Method 5, or hire a licensed electrician to handle connections beyond the inverter. Many Canadian solar installers offer hybrid services where they complete the electrical work while you handle the mechanical assembly, reducing costs without compromising safety or code compliance.
Critical Safety Warnings Before You Begin
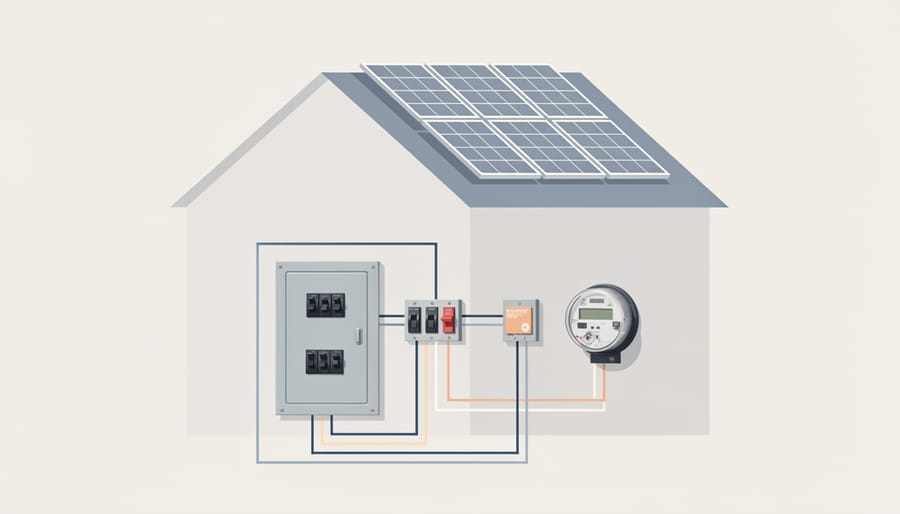
Working with electricity and rooftop installations carries serious risks that demand respect and careful preparation. Before you touch a single wire or climb onto your roof, understand that electrical shock can be fatal, and falls from heights account for numerous home improvement injuries across Canada each year.
Electrical hazards are your primary concern. Solar panels generate DC voltage whenever light hits them, you can’t simply flip a switch to turn them off. Always use a multimeter to verify circuits are dead before making connections, wear insulated gloves rated for electrical work, and ensure all components are properly grounded according to the Canadian Electrical Code (CEC). A ground fault can energize metal frames and racking, creating shock hazards you won’t see coming.
Rooftop work adds another layer of danger. Use proper fall protection equipment, work only in dry conditions, and avoid installations during high winds or when snow and ice are present. Install anchor points before you need them, and recognize that solar panels make roofs more slippery than standard shingles.
Know when to stop and call a licensed electrician. In most Canadian provinces, connecting to your main electrical panel or utility meter requires professional certification. Attempting this work yourself doesn’t just risk injury, it violates provincial regulations, voids equipment warranties, and can invalidate your home insurance. Your insurer may deny claims related to fire or electrical damage if they discover non-compliant DIY work.
Utility interconnection has strict rules. Contact your local utility before grid-tied installations to understand notification requirements, inspection protocols, and approved equipment lists. Installing without utility approval can result in disconnection, fines, or liability for damage to grid infrastructure. Most utilities require installation of clearly marked disconnect switches that allow them to isolate your system during maintenance or emergencies.
Provincial electrical codes aren’t suggestions, they’re legal requirements developed from decades of safety data. Non-compliant installations put your family at risk and create legal headaches when selling your home, as inspections will flag unpermitted electrical work.
Method 1: Rooftop Solar Panel System
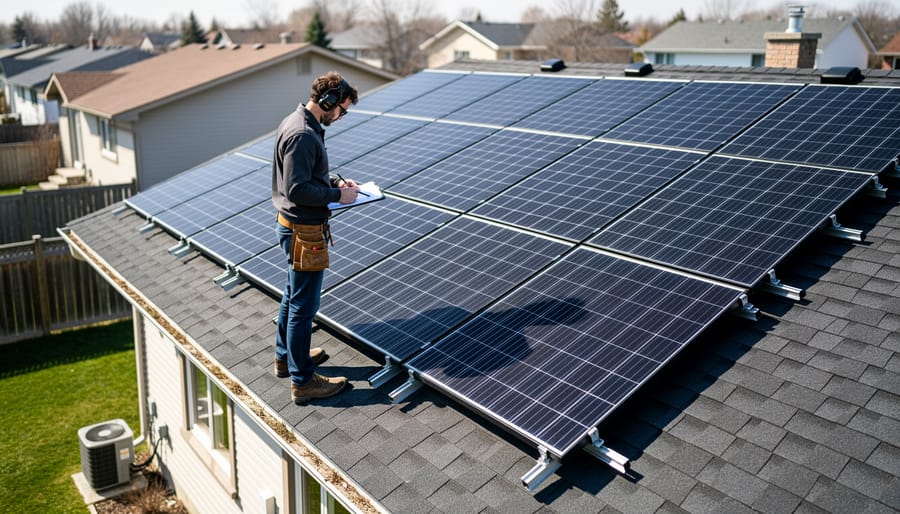
Start by evaluating your roof’s suitability: south-facing slopes perform best in Canada, though southeast and southwest orientations work well too. Check for shading from trees or neighbouring buildings between 9 AM and 3 PM, when panels generate peak power. Hire a structural engineer if your roof is older than 15 years or shows visible sagging, solar arrays add roughly 3-4 pounds per square foot, and Canadian snow loads amplify stress during winter months.
Once you’ve confirmed structural integrity, follow these solar DIY steps for installation:
- Install mounting rails across roof rafters using lag bolts and waterproof flashing boots, maintaining 40-degree tilt for optimal year-round performance at Canadian latitudes.
- Attach panel clamps to rails, leaving 1-2 inches between panels for thermal expansion and snow shedding.
- Wire panels in series (connecting positive to negative terminals) to increase voltage for grid-tied systems, or parallel (positive to positive, negative to negative) for battery-based setups requiring consistent voltage.
- Run conduit from the array to your inverter location, typically mounted on an interior wall near your main electrical panel.
- Connect DC output to the inverter, then wire the inverter’s AC output to a dedicated breaker in your electrical panel.
- Schedule municipal and utility inspections before energizing, most provinces require both electrical and building permit sign-offs.
A typical 5 kW system for a Canadian home costs $12,000-$18,000 before incentives and takes 2-4 days to install with helper assistance. Grid-tied systems qualify for net metering in most provinces, letting you bank excess summer production as credits for winter months when output drops 40-60 percent. Expect payback in 8-12 years depending on your utility rates and provincial rebate programs. Off-grid configurations require battery banks (add $8,000-$15,000) but provide complete independence from grid outages.
Method 2: Ground-Mounted Solar Array
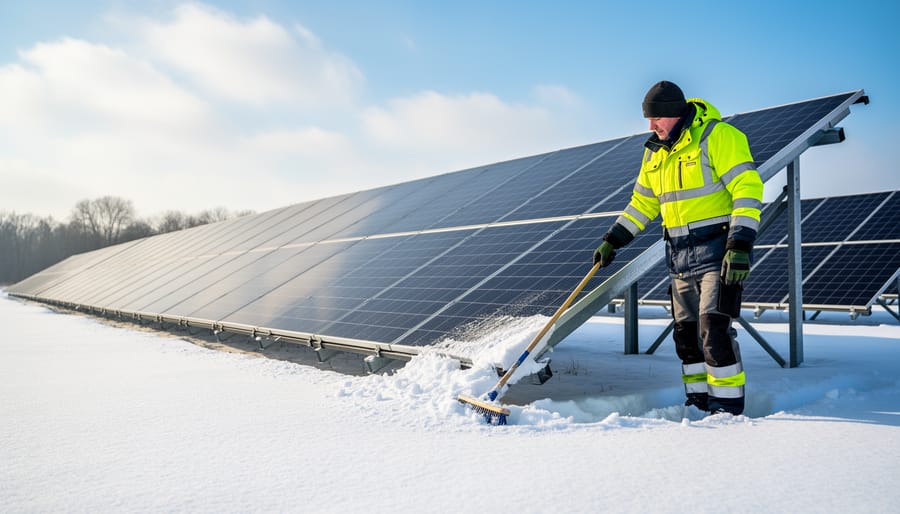
Ground-mounted arrays work well when your roof can’t accommodate panels or you have available yard space. This method gives you flexibility in positioning and makes maintenance straightforward compared to climbing onto your roof several times a year.
Start by selecting a location that receives unobstructed sunlight throughout the day, particularly during peak hours (9 AM to 3 PM). For Canadian installations, aim for a south-facing orientation with a tilt angle matching your latitude, approximately 45-55 degrees across most populated regions. Edmonton homeowners would set panels near 53 degrees, while Vancouver installations work well at 49 degrees. Some systems include seasonal adjustment mechanisms that let you steepen the angle in winter (adding 15 degrees) to capture low-angle sunlight and shed snow, then flatten it in summer (subtracting 15 degrees) for optimal collection.
Foundation choices depend on your soil conditions and budget. Concrete footings offer maximum stability, dig below the frost line (typically 4 feet deep in southern Canada, deeper in northern regions), pour concrete piers, and bolt your racking system to embedded anchors. Helical piles provide a faster, less invasive alternative that works in most soil types. These screw-in foundations install in hours without concrete curing time and prove ideal for remote power applications where equipment access is limited.
Position your array within 30 meters of your home to minimize voltage drop in the wiring run, longer distances require thicker, more expensive cable. Trenching for underground conduit protects wiring from weather and meets electrical code requirements.
The main advantage? You can brush snow off panels while standing on solid ground, and panel cleaning takes minutes instead of arranging roof access equipment.
Method 3: Solar Carport or Pergola Integration
A solar carport or pergola transforms a functional outdoor structure into a power-generating asset, offering Canadian homeowners an elegant solution when roof space is limited or unsuitable. This method delivers between 2-6 kW depending on structure size, while creating covered parking or shaded patio space.
Start by designing a structure that meets local building codes, most municipalities require permits for permanent overhead structures exceeding 10 square metres. Your framework must support both the static weight of panels (roughly 20 kg per square metre) plus snow loads specific to your region. In Ontario and Quebec, winter design loads often exceed 2.4 kPa, requiring robust 4×6 or 6×6 timber posts set in concrete footings below frost line, typically 1.2 metres deep.
Orient the structure’s long axis east-west with a south-facing slope between 30-45 degrees for optimal year-round generation. Integrate panels directly into the overhead framework using specialized mounting rails that maintain proper airflow underneath, essential for preventing efficiency loss during hot summer months.
Route wiring through hollow structural members when possible, protecting cables from weather and maintaining clean aesthetics. Run conduit down a support post to your inverter location, keeping runs under 30 metres to minimize voltage drop.
Beyond energy production, these installations can increase property values by 3-6% in urban Canadian markets, particularly when designed with architectural appeal matching your home’s style. They also eliminate snow clearing from your vehicle while generating clean power overhead.
Method 4: Portable Solar Generator System
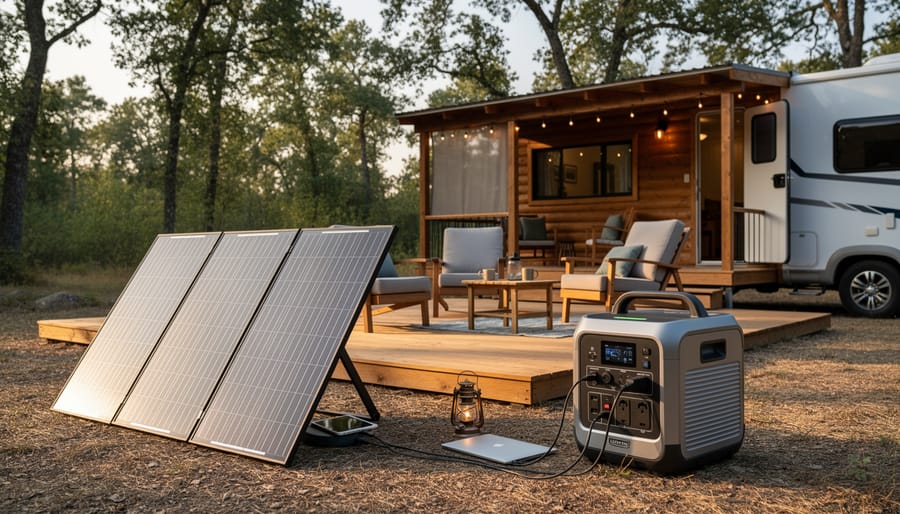
Portable solar generators offer the simplest entry point into home electricity generation, requiring zero installation expertise. These all-in-one units combine solar panels, battery storage, and an inverter in plug-and-play configurations that begin producing power within minutes of unboxing.
Start by determining your power needs. For emergency backup covering essentials like refrigerators, lights, and phone chargers, a 1000-1500 watt-hour system suffices for most Canadian households. Off-grid cottages or extended outage scenarios demand 2000-3000 watt-hour capacity or larger. Check the unit’s continuous wattage rating against your highest-draw appliance, many generators handle 1500W continuously but surge to 3000W for brief motor starts.
Set up involves unfolding the included solar panels in direct sunlight, connecting them to the generator’s charge port with the provided cables, and plugging devices directly into AC outlets or USB ports. Most units reach full charge in 4-8 hours of peak sun. Position panels for southern exposure at your latitude’s optimal angle, adjusting seasonally if stationary.
Expansion comes through daisy-chaining additional compatible panels, potentially doubling charge speed. Quality systems accept third-party panels matching voltage specifications, giving you flexibility as needs grow.
The trade-off is capacity. While permanent installations deliver kilowatts daily, portable units max out around 400 watts from panels, limiting simultaneous device operation. They excel at cottages needing weekend power, RV adventures, and home emergency kits, situations where mobility and setup speed outweigh total output. Winter performance drops 30-40% compared to summer in Canadian climates.
Method 5: Window or Balcony Solar Panels
Window and balcony solar panels bring renewable energy to apartment dwellers and condo residents who lack roof access. These compact systems typically generate 100-400 watts, enough to offset standby power consumption from electronics, charge devices, or reduce overall electricity bills by 5-15% in urban settings.
Start by selecting a plug-in solar panel kit designed for balcony mounting. Most units include one or two panels (each 100-200W), a micro-inverter that converts DC to AC power, and weather-resistant cabling. The micro-inverter connects directly to a standard household outlet, feeding power into your home’s circuits. Choose models with automatic shutoff features that disconnect during grid outages for safety.
For installation, railing-mounted brackets work best on balconies, clamping securely without permanent modifications. Window installations use heavy-duty suction cups rated for outdoor use, though these require periodic checking and work better on ground-level units. Angle panels toward the sun, south-facing exposure yields optimal results in Canada, though east or west orientations still produce meaningful power.
Before installing, review your condo corporation’s rules. Many buildings now permit removable solar equipment, but approval processes vary. Emphasize the temporary, non-invasive nature of your setup. Renters particularly value these systems since they’re portable between residences, unlike permanent off-grid solutions.
Monitor output through the inverter’s app to track generation patterns and confirm the system functions properly throughout different seasons.
Method 6: Solar Shingles or Building-Integrated Photovoltaics (BIPV)
Solar shingles represent a different installation philosophy than traditional panels, you’re replacing your roof rather than mounting equipment on top of it. The process follows standard roofing work with added electrical components: remove old shingles, install underlayment and flashing, then lay the photovoltaic shingles in overlapping rows like conventional asphalt shingles. Each shingle connects to adjacent units through integrated wiring tabs, creating a continuous power-generating surface. You’ll run combined wiring bundles down to an inverter, similar to panel systems but with multiple connection points across the roof plane.
This method makes sense primarily during new construction or when your roof needs replacement anyway. The cost premium runs roughly 50-70% higher than a comparable traditional panel system in Canadian markets, but you’re eliminating the old roof and new roof as separate expenses. Tesla Solar Roof and CertainTeed Apollo are the main options available in Canada as of 2026, though supply remains limited compared to the United States.
The aesthetic advantage is significant, solar shingles create a uniform appearance that blends with the roofline rather than sitting atop it. This matters for heritage districts, homeowner associations with appearance restrictions, or simply personal preference. Warranties typically cover 25 years for power output and 20-30 years for weatherproofing, but confirm both aspects since you’re relying on these shingles as your actual roof barrier. Installation requires roofers trained in electrical work or coordination between roofing and electrical contractors, adding complexity to the project timeline.
Method 7: DIY Solar Water Heating with Photovoltaic Backup
This hybrid approach tackles water heating, which typically accounts for 20% of a Canadian home’s energy use, by combining solar thermal collectors with a small photovoltaic backup system. You’ll install two distinct components that work together: flat-plate or evacuated-tube thermal collectors that heat water directly, and a modest PV array (usually 100-300W) that powers the circulation pump and provides auxiliary electricity.
Start by mounting the thermal collectors on a south-facing roof section, ideally at a 45-60 degree angle for optimal winter sun capture in Canadian latitudes. Run insulated copper piping from the collectors to a heat exchanger connected to your existing hot water tank. The circulation pump, powered by your PV panels, moves a glycol-based antifreeze solution through the collectors and heat exchanger, transferring warmth to your domestic water supply without direct contact.
Install the small PV array nearby to power the pump controller and differential temperature sensor. This setup ensures the pump only runs when collectors are hotter than the tank, preventing heat loss on cloudy days. Wire the PV system through a charge controller to a small battery bank, maintaining pump operation even during brief overcast periods.
The efficiency advantage is significant: thermal collectors convert 60-70% of sunlight into usable heat, far exceeding PV panel efficiency for water heating purposes. In Canadian winters, evacuated-tube collectors perform particularly well, capturing diffuse light and maintaining heat even at -30°C. Most systems preheat water before it enters your conventional heater, cutting gas or electric bills by 50-80% during sunny months and 30-40% year-round.
Method 8: Solar Battery Charging Station with Home Integration
This method transforms your solar panels into a 24/7 power source by storing daytime generation in batteries and automatically feeding it into your home circuits when needed. The setup centres on three components: a battery bank, a charge controller to manage solar input, and an automatic transfer switch that seamlessly shifts between grid and battery power.
Start with battery selection. Lithium iron phosphate (LiFePO4) batteries cost more upfront, expect $800-$1,200 per kilowatt-hour of storage, but deliver 3,000-5,000 charge cycles and require no maintenance. Lead-acid batteries run $200-$400 per kWh but need ventilation, regular water checks, and replacement after 500-1,000 cycles. For a typical Canadian home backing up essential circuits (fridge, furnace, lights), plan for 5-10 kWh of storage.
Wire your solar array to a charge controller rated for your panel wattage. MPPT controllers extract 20-30% more power than PWM types in cold Canadian winters. Program voltage setpoints according to your battery chemistry, lithium batteries require precision float voltages (13.6V for 12V systems) while lead-acid tolerates wider ranges.
The automatic transfer switch installs between your electrical panel and priority circuits. When grid power drops or battery charge exceeds your threshold (say, 80%), the switch disconnects those circuits from the grid and runs them on battery power. Manual load prioritization means choosing which circuits get backup, usually heating, refrigeration, and lighting over air conditioning or electric dryers. Licensed electricians familiar with Canadian electrical code should handle transfer switch installation, and many provincial renewables association members offer consultation on compliant setups. This approach works particularly well in regions with time-of-use electricity rates, letting you draw battery power during expensive peak hours.
Testing Your System and Verifying Performance
Once your solar system is installed, proper testing ensures it delivers the power you expect and operates safely. Start by checking voltage and current output with a multimeter at multiple points: measure open-circuit voltage at the panels (typically 30-45V for residential modules), then verify the inverter’s DC input matches expectations. Under full sun, compare actual current output against the panel’s rated amperage, 15-20% lower readings can indicate wiring issues or shading problems.
Most modern inverters include Wi-Fi monitoring, so download the manufacturer’s app (popular options in Canadian installations include SolarEdge, Enphase Enlighten, and Fronius Solar.web) to track real-time production. These apps display daily kilowatt-hour generation, system voltage, inverter efficiency, and grid export metrics. Expect significant seasonal variation: summer production in southern Ontario might reach 5-6 kWh per installed kilowatt daily, dropping to 1-2 kWh in December due to shorter days and lower sun angles.
Troubleshoot common problems systematically. If output drops suddenly, check for new shading from tree growth or nearby construction, inspect all connections for corrosion or looseness, and review inverter error codes in the app. Many Canadian renewable tech systems now include automatic fault detection, but manual verification builds confidence.
Request a professional inspection if you notice persistent voltage fluctuations beyond 10%, inverter shutdowns without clear cause, or before connecting to the utility grid. Most provinces require electrical inspection approval before net metering activation anyway. Schedule utility notification at least two weeks ahead to avoid delays in getting your system operational.
Choosing the Right Method for Your Home
Your property type drives your first major decision. Apartment and condo dwellers should focus on balcony panels or portable generators, which require no structural modifications and typically cost $1,000-$3,000. Homeowners gain access to the full range of options, from ground-mounted arrays to solar shingles.
Budget shapes feasibility across methods. Window panels and portable systems start around $1,000-$2,500, offering immediate but modest generation. Mid-range options like ground-mounted arrays or carports run $8,000-$15,000. Full rooftop systems and BIPV installations reach $15,000-$30,000 but deliver the highest output and fastest payback periods, often 8-12 years in provinces with strong net metering programs.
Your electrical skills matter for safety and cost. Portable generators require zero electrical knowledge. Balcony panels need basic outlet familiarity. Rooftop and ground-mounted systems demand either significant DIY electrical experience or professional installation, which adds $2,000-$5,000 to costs.
Available space determines practical capacity. A south-facing roof supports the largest systems. Limited yard space still accommodates compact ground arrays or carports. Even a small balcony can host 200-400W of generation.
Energy goals complete the picture. Seeking emergency backup? Portable generators excel. Aiming for grid independence? Combine rooftop panels with battery stations. Want gradual investment? Start with window panels and expand as budget allows.
Federal programs in 2026 include the Canada Greener Homes Grant covering up to $5,000 in costs. Provincial incentives vary, with Ontario, BC, and Alberta offering additional rebates and interest-free financing that can reduce effective costs by 20-40 percent.
Common Questions About Home Solar Power Generation
Before you flip the switch on your home solar project, you’ll likely have practical questions about regulations, performance, and long-term viability. Here are answers to the most common concerns Canadian DIY solar installers face.
Do I need permits and inspections for DIY solar installations in Canada?
Yes, most provinces require electrical permits for systems over 1 kW, and all grid-connected installations need utility approval and an inspection by a certified electrical safety authority before energization. Requirements vary by province, so check with your local municipality and electrical safety organization.
Will installing solar panels myself affect my home insurance?
DIY installations can impact coverage if they don’t meet code or aren’t properly inspected. Notify your insurer before starting, and ensure all work is permitted and inspected to maintain your policy validity and potentially qualify for green home discounts.
What happens to excess electricity my system generates?
With net metering programs available in most Canadian provinces, surplus power flows back to the grid and appears as credits on your utility bill. Without net metering, you’ll need battery storage to capture excess generation, or the power simply isn’t used.
How well do solar panels work during Canadian winters?
Panels actually perform efficiently in cold temperatures, but shorter days and snow coverage reduce total output by 40-60% compared to summer months. Steep roof angles and dark panel surfaces help snow slide off naturally in many cases.
What maintenance do home solar systems require?
Minimal upkeep is needed, mainly occasional panel cleaning, annual electrical connection checks, and inverter filter cleaning. Most systems require professional servicing only every 3-5 years, though monitoring apps should be reviewed monthly to catch performance drops early.
Will my solar system work during a power outage?
Grid-tied systems without batteries automatically shut down during outages for safety reasons, leaving you without power. Only systems with battery backup and proper transfer switches can operate independently when the grid fails.
The inspection process deserves special attention. Even if you handle the physical installation yourself, having a licensed electrician review your work before the official inspection can catch issues early and prevent costly reinstallation. Many Canadian jurisdictions won’t connect your system to the grid until both municipal and utility inspections confirm code compliance.
Insurance considerations extend beyond just notifying your provider. Some insurers offer premium reductions for homes with properly installed renewable energy systems, viewing them as property improvements. However, attempting to hide a DIY installation or skipping inspections can void your entire homeowner’s policy, not just coverage related to the solar equipment.
Canadian homeowners now have eight proven pathways to generate electricity at home, each suited to different living situations, budgets, and skill levels. Whether you’re installing a full rooftop array or starting with a balcony panel in your Toronto condo, you’re taking concrete steps toward energy independence and contributing to Canada’s renewable energy targets.
The beauty of DIY solar power lies in its scalability. You don’t need to commit $20,000 upfront or transform your entire roof overnight. Many successful solar adopters began with a single portable generator or window panel, learned the technology hands-on, then expanded their systems as confidence and budgets allowed. This incremental approach reduces financial risk while building practical knowledge.
Before you begin any installation, prioritize safety and regulatory compliance. Verify permit requirements with your municipality, consult your utility about interconnection rules, and never hesitate to call a licensed electrician when a task exceeds your expertise. Cutting corners jeopardizes your safety, your home insurance, and the credibility of residential solar initiatives across Canada.
Your solar journey adds one more household to Canada’s clean energy transition. We’d love to hear how it goes, share your installation experience, performance data, or lessons learned with Clean Future’s community reporting platform and help other Canadians navigate their own path to home power generation.