
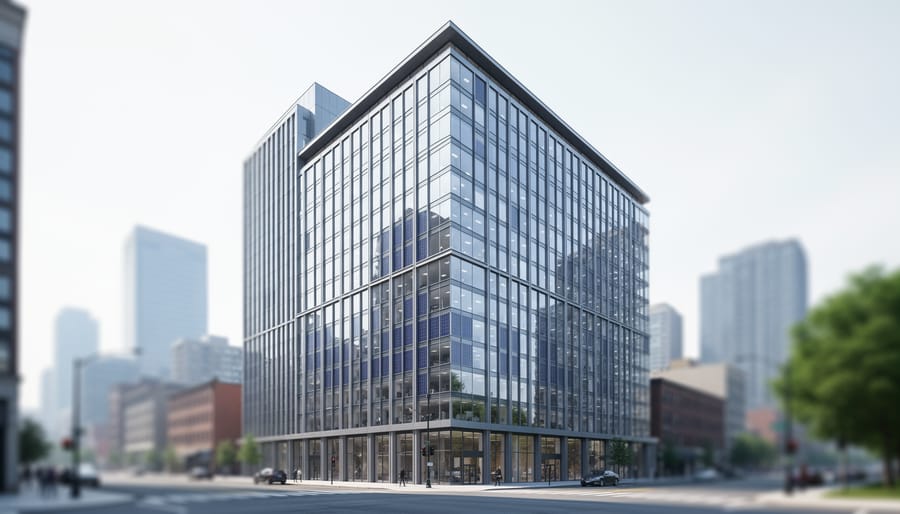
Building integrated solar, or BIPV, is a solar technology that replaces part of a building’s envelope, such as the roof, facade, window glazing, or canopy, so the structure generates electricity while doing the job of a conventional building material. Instead of bolting panels onto a finished roof, you build the power plant into the walls and roof from the start. That one design choice changes the look, the engineering, and the cost equation.
Picture a glass curtain wall on a Toronto office tower that shades the interior, keeps out the weather, and feeds the grid at the same time. Or a metal-look roof on a Nova Scotia home that is, in fact, the solar array. Both are BIPV, and both avoid the add-on appearance that has kept some architects and homeowners wary of standard racking.
The underlying physics matches how solar works in any system: photovoltaic cells turn sunlight into direct current, and an inverter converts it for use. What differs is everything around the cells, from structural loads and waterproofing to wiring, ventilation, and building code compliance.
This guide covers what BIPV products exist, how they’re designed and installed, how Canadian winters and snow loads affect performance, and whether the numbers make sense for your project. Incentives and codes change, so check current programs before you commit.
What Building Integrated Solar Actually Is
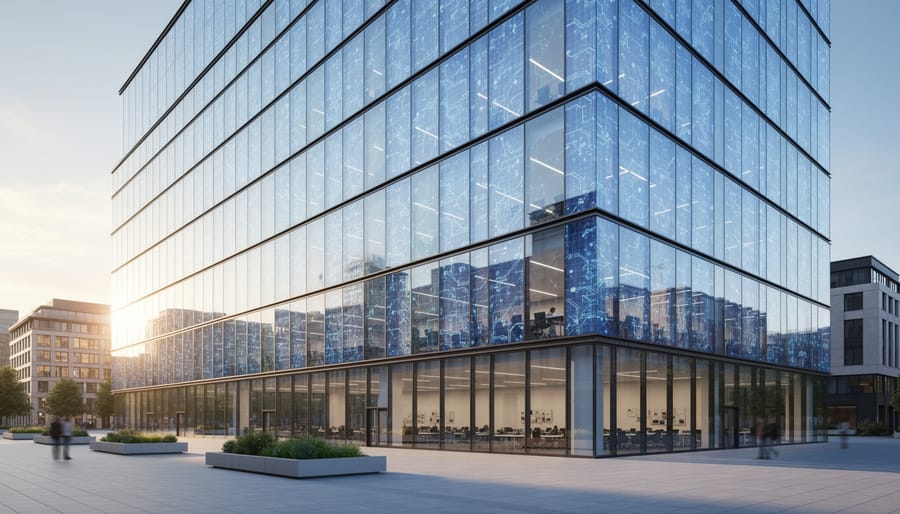
At its heart, building integrated solar is a simple idea: the solar cells are part of the building. Instead of sitting on top of a roof, they replace the roofing material itself. The same goes for facades, skylights, windows and canopies. A BIPV element keeps the rain out, helps insulate, lets in light where needed, and generates electricity, all at once.
That dual role is what separates BIPV from the traditional approach, known as BAPV, or building-applied photovoltaics. With BAPV, a conventional roof is built first, then racks and standard panels are bolted on afterward. The roof does its job, and the panels do theirs. Nothing is shared.
The difference matters more than it might sound. Because BIPV replaces building materials, it’s designed alongside the structure from the start, so architects, engineers and installers need to coordinate early. It also affects permitting, since an integrated product counts as both electrical equipment and part of the building envelope, and has to satisfy both sets of requirements. And it changes the cost picture: you pay more for the solar product, but you may spend less on the cladding, glazing or roofing it stands in for.
The technology has come a long way from the clunky, limited products of earlier years. Today’s options come in more colours, textures and formats, and they can match the look of slate, metal or tinted glass. That flexibility is a big reason architects and developers are paying closer attention, especially on projects chasing net-zero goals where roof space alone can’t cover a building’s energy needs. It also fits a wider wave of innovation, from BIPV to other emerging Canadian renewable tech, that is changing how we think about generating power where we live and work.
The Main Types of BIPV Products
Solar Roofing: Tiles, Shingles and Metal Roofing
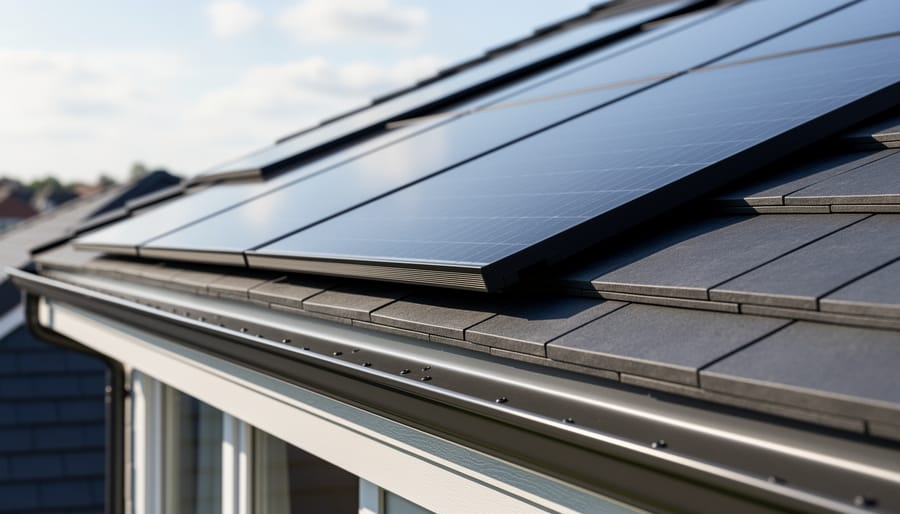
Solar roofing is the most familiar form of building integrated solar, and it comes in three main flavours. Solar shingles look much like conventional asphalt or composite shingles, but each one contains a small photovoltaic cell. Solar tiles do the same job in a heavier profile, often mimicking slate or clay. Then there’s standing-seam metal roofing, where thin, flexible solar laminates are bonded directly onto the raised-seam steel or aluminum panels, so the roof itself becomes the generator.
In every case, the product has two jobs. It sheds rain and snow like any roof covering, and it produces electricity at the same time. Wiring runs beneath the surface and connects to an inverter, the device that converts the direct current from the cells into the alternating current your home uses.
Where do they fit best? New builds are the natural match. The roof is designed once, installed once, and the cost of the roofing material is partly offset by the power it generates. Re-roofing projects can also work well, particularly when an aging roof needs replacing anyway, since you avoid paying for a new roof and a separate rack-mounted array. For a roof that’s still in good shape, though, conventional panels are often the simpler choice.
Facades and Curtain Walls
Walk past a glass office tower downtown and you’re looking at far more surface than roof. A 30-storey building might have a rooftop the size of a tennis court, but facades covering many times that area. That’s why vertical cladding and glass curtain walls are drawing attention. Photovoltaic cells can be built into spandrel panels (the opaque bands between floors), rainscreen cladding, or the glass units themselves, so the wall does its usual job of keeping weather out while also generating electricity.
For tall urban buildings, this matters. Roof space is tight, often crowded with mechanical equipment, and a handful of panels can’t meet the demands of hundreds of tenants. The facade offers the extra area that dense cities otherwise lack.
Orientation shapes the results. A vertical surface captures less sunlight than a tilted, south-facing roof, so a facade typically produces less power per square metre. But vertical modules have some advantages. They catch low winter sun, which is useful at Canadian latitudes, and they can pick up light reflected from snow on the ground. South-facing walls perform best, east and west faces generate useful morning and afternoon power, and north-facing walls contribute little. Good design means placing solar cladding where the sun actually reaches it.
Solar Windows, Skylights and Canopies
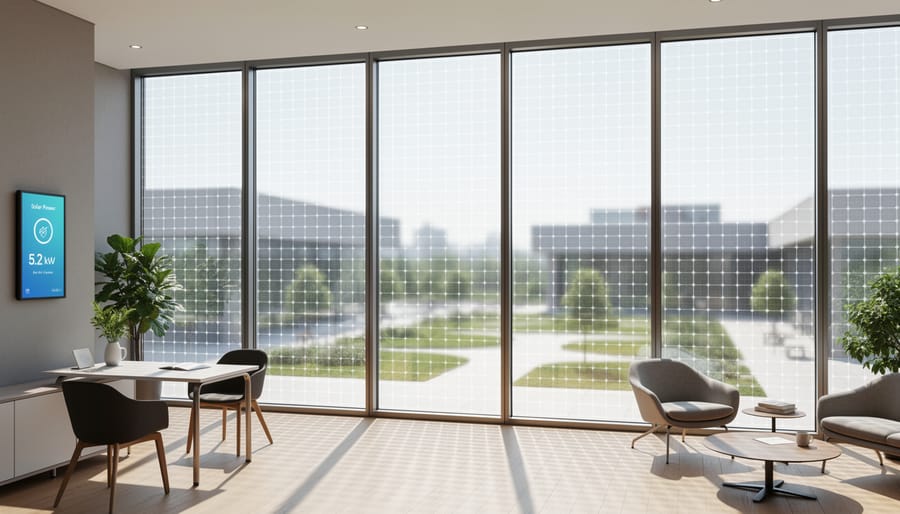
Not every solar surface needs to be opaque. Semi-transparent photovoltaic glazing lets light pass through while still generating electricity, which makes it a natural fit for windows, skylights and covered spaces like atriums, bus shelters and carport canopies.
The central trade-off is simple: the more light a pane lets through, the less electricity it can produce. A heavily tinted solar window might transmit only 10 to 30 percent of visible light, while a more transparent one passes more daylight but harvests less energy. Designers weigh this against the room’s needs. An office atrium wants soft daylight and glare control, so a modest tint can actually help by cutting heat gain and the need for blinds.
Two cell approaches dominate here. Crystalline silicon cells are the familiar dark squares used in standard panels. In glass-glass laminates, they’re spaced apart so light slips between them, creating a dappled, patterned effect. Thin-film cells, by contrast, are ultra-thin layers of photovoltaic material (such as cadmium telluride or amorphous silicon) deposited directly onto glass. They can be made more evenly translucent, though they typically convert sunlight to electricity less efficiently than silicon.
Canopies and carports are often the easiest starting point. They don’t have to be see-through, they shade vehicles and walkways, and they offer large, unobstructed surfaces. Many Canadian parking areas and transit stops already need a roof, so adding generation to it makes good use of space that’s otherwise just shelter.
Engineering and Design Considerations
Orientation, Shading and Energy Yield
Three things decide how much electricity a building-integrated surface produces: the angle it sits at, the direction it faces, and how much shade falls across it.
In Canada, a south-facing roof tilted somewhere close to the local latitude is the classic best case. It catches high summer sun and a decent share of winter light. A vertical facade is a different animal. It sees less sun in midsummer, when the sun is high overhead, but it handles low winter sun well and picks up reflected light off snow. East- and west-facing walls produce less in total, though they tend to generate in the morning and late afternoon, when a building often needs power.
Shade matters more than most people expect. In many module layouts, a shadow over one cell can drag down a whole string of modules. A neighbouring tower, a chimney or even a tree can cut output noticeably, so designers often split arrays into smaller electrical groups to limit the damage.
That is why modelling comes first. Simulation tools map the sun’s path across the site through the year, account for surrounding buildings, and estimate annual output for each surface. Designers can then place photovoltaic material where it earns its keep and use ordinary cladding elsewhere, long before anything is built.
Heat, Ventilation and Electrical Integration
Solar cells lose efficiency as they heat up. Most silicon modules give up roughly a third to half a percent of output for every degree Celsius above their rated test temperature, so a dark panel baking on a summer afternoon can produce noticeably less than the same panel on a crisp spring day. That’s a bigger deal for BIPV, because integrated modules often sit flush against insulation or sheathing with little room to breathe.
The fix is usually airflow. Designers leave a ventilated cavity behind roofing or facade modules, letting warm air rise and escape while cooler air enters below. Even a modest gap can lower operating temperatures and protect long-term performance. Insulation and fire-safety details also need to be worked out with that cavity in mind.
Electrical planning has to happen just as early. Modules produce direct current (DC), while buildings run on alternating current (AC), so an inverter converts one to the other. Designers choose between a central inverter, string inverters or small microinverters on individual modules, depending on how shading and orientation vary across the building envelope. Wiring pathways, junction boxes and disconnects are routed through the structure itself, often behind cladding or through mullions in curtain walls. Finally, the system connects to the grid through the building’s electrical panel and a utility-approved meter arrangement.
Codes, Standards and Safety
Building integrated solar wears two hats, and that is exactly why the rules around it can feel layered. A BIPV roof or facade is electrical equipment, because it generates power, and it is also a building material, because it keeps out rain, wind and snow. Each role comes with its own set of requirements.
On the electrical side, installations in Canada generally need to follow the Canadian Electrical Code, and the equipment itself is typically expected to carry certification from an accredited body, often to CSA standards for photovoltaic modules and related components. That covers things like wiring, grounding, rapid shutdown and how the system ties into the grid.
On the building side, the same product must satisfy the National Building Code, along with any provincial or municipal adaptations. Here the questions are about fire performance, structural loads, water and air tightness, and, for glass, impact safety and fall protection. A solar skylight, for instance, has to behave like a safe skylight first.
Because requirements vary by province, city and even project type, treat this overview as a starting point rather than a checklist. Confirm what applies with your local authority having jurisdiction, and work with certified designers, electricians and installers who know both the electrical and building codes.
How a BIPV Installation Comes Together
A building integrated solar project starts well before anyone picks up a tool. Because the modules double as part of the roof, wall or glazing, the whole team has to agree on the design first. A standard rooftop job can often move from quote to install in a few weeks. BIPV asks for more coordination, and that is the main difference you’ll notice.
Here’s the typical flow, in order:
- Feasibility assessment: A designer reviews the site’s orientation, shading, structural capacity, and electrical service, then estimates how much power each surface could realistically produce.
- Design coordination: The architect, engineer, and solar designer settle on products, dimensions, wiring routes, and how the modules tie into the weatherproofing layers.
- Permitting and approvals: Drawings go to the local authority, since BIPV must satisfy both building and electrical requirements.
- Procurement: Custom or made-to-order modules can carry longer lead times than off-the-shelf panels, so ordering early keeps the schedule intact.
- Installation by qualified trades: Roofers, glaziers, and electricians sequence their work so the envelope stays watertight while the wiring goes in.
- Inspection and commissioning: Inspectors check the electrical work, then the inverter is energized, connections are tested, and the system is brought online.
- Performance monitoring: Monitoring software tracks output against the original model, so any underperforming string or shaded section shows up quickly.
If you want a feel for how a conventional system is staged, our guide to solar installation steps is a good comparison point. BIPV follows a similar electrical logic but adds a building-envelope layer on top.
That layer is why the trades matter so much. A roofer understands flashing and drainage, a glazier knows how to seal and support glass units, and an electrician handles the DC wiring and grid connection. Each handoff needs to be planned, because a leak at a module seam or a poorly routed cable is harder to fix once the building is finished. Hiring a team that has done integrated work before, or an installer who coordinates these trades under one roof, tends to smooth the process considerably.
Built for Canada: Climate, Snow and Cold
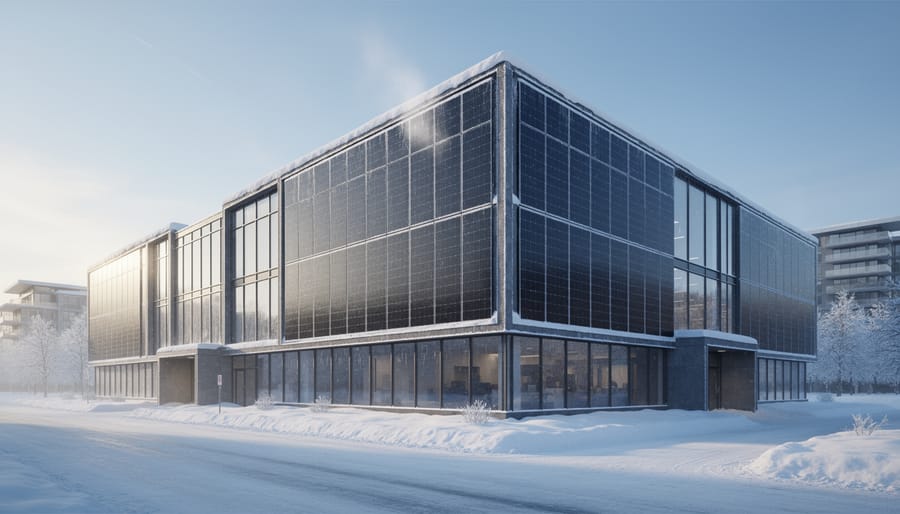
Canadian weather has a reputation for testing every part of a building, and building integrated solar is no exception. The good news is that the same qualities that make a cold climate demanding also work in the technology’s favour.
Start with snow. Because integrated systems sit flush with the roof or facade, their smooth, continuous surfaces can help snow slide off more readily than it does from racked panels, where snow can catch on rails and edges. Designers still have to account for snow load, which is the weight a roof or wall must carry, and for how sliding snow will behave over entrances and walkways. That is why snow guards and careful drainage planning belong in the early design conversation.
Cold is less of a problem than many people expect. Photovoltaic cells tend to operate more efficiently at lower temperatures, and crisp, bright winter days can deliver strong output. Add the long daylight hours of a Canadian summer, and a well-oriented system has plenty of opportunity to produce. Heat, as noted earlier, is often the bigger efficiency challenge, so cool conditions give these modules a natural advantage.
Then there is durability. Roofs and facades here live through repeated freeze-thaw cycles, when moisture seeps into small gaps, freezes, expands and thaws again. Integrated products are built to act as the weather barrier itself, so sealing, flashing and installation quality matter just as much as the cells. Strong winds, especially at the upper floors of tall buildings, add another reason to choose certified products and experienced installers.
Every region has its own mix of snow, wind and sunshine, which is where your experience comes in. If there’s a solar roof, a glass facade or a solar canopy in your community that has handled a Canadian winter, we’d love to hear about it. Sharing local projects helps other readers see what’s possible close to home, and it keeps our coverage grounded in real places and real people.
Costs, Payback and Is It Worth It?
Building integrated solar rarely wins on sticker price alone. A BIPV system usually costs more upfront than standard rooftop panels, partly because the products are more specialized and the installation brings several trades together. If you want a baseline for comparison, our guide to solar panel costs shows what conventional systems typically run.
The picture changes once you look at what BIPV replaces. A solar roof or facade stands in for roofing, cladding or glazing you’d have to buy anyway, so part of the premium is offset by materials you no longer need. For new builds and major renovations, that overlap matters most.
Here’s how the trade-offs stack up:
Pros
- Clean, finished aesthetics, since the solar layer is part of the building rather than an add-on.
- Offsets part of the cost of the roofing, cladding or glass it replaces.
- Uses vertical and curved surfaces, which helps tall buildings with limited roof area.
- Strengthens sustainability credentials and supports net-zero building goals.
Cons
- Higher upfront cost than standard rack-mounted panels.
- Requires specialized installers and coordination across several trades.
- Repairs and replacements can be more complex because modules are part of the envelope.
- Often delivers less electricity per dollar than conventional panels.
So is it worth it? That depends on what you’re building and why. If your goal is the cheapest possible kilowatt-hour, conventional panels will usually win. If you’re designing a new home or commercial building, want a seamless look, or are pursuing net-zero targets, BIPV can make strong sense because the solar system does double duty.
One caution: pricing and incentives shift often. Before you budget, check current federal, provincial and utility programs rather than relying on any figures you’ve seen in print. A qualified installer can also model your payback using today’s rates and your building’s real orientation and shading. Go in with realistic expectations, and the numbers can still look encouraging.
Common Questions About Building Integrated Solar
Is building integrated solar the same as regular solar panels? Not quite. Standard panels are mounted on racks above your roof, while BIPV replaces the roofing, glazing or cladding itself. It does two jobs at once, which is why it has to be designed with the building rather than added afterward.
Does it work in cloudy or snowy weather? Yes. Photovoltaic cells keep producing in diffuse light, though output drops compared with bright, direct sun. Cold temperatures can actually help efficiency, and smooth integrated surfaces often shed snow well.
Will it match my existing roof or facade? Often better than racked panels do. Tiles, shingles, metal laminates and tinted glass come in a range of finishes, so the system can blend in with the building’s look.
How long does it last? Many manufacturers warranty their products for 20 to 25 years or more, but warranties vary by product and by whether the claim covers the building material or the electrical performance. Ask for both in writing.
Can I use it for an off-grid cabin? It can, but a remote building needs more than modules. You’ll need batteries, an inverter and a plan for winter loads. If that sounds like your situation, our guide to off-grid solar is a good place to start before you talk to a designer.
Do I need a permit? Almost certainly. Because BIPV counts as both electrical equipment and a building component, expect electrical and building permit reviews. Your local authority and a certified installer can tell you exactly what applies.
Is it worth the extra cost? That depends on your project. For new builds and major re-roofing, the materials it replaces can offset part of the premium. For a quick add-on to a sound roof, conventional panels may make more sense.
Building integrated solar changes the question from “where do we put the panels?” to “what if the building itself did the work?” Roofs, facades, windows and canopies can all quietly produce electricity while keeping the weather out and the daylight in. The technical demands are real, but they are manageable. Choosing the right product type, whether roofing, cladding or semi-transparent glazing, comes down to early design decisions about orientation, shading, ventilation and wiring. Bringing roofers, glaziers and electricians into the conversation from day one keeps the installation smooth and the building code questions settled.
Canadian conditions, from heavy snow to crisp, bright winter days, are less of a barrier than many people assume, and smooth integrated surfaces can even help snow slide off. If you’re curious, start by talking with qualified installers and local authorities about what suits your project. And if there’s a BIPV building in your community, tell us about it. Clean Future would love to share it.